Text to Image vs Image to Image: Choosing the Right Generative Workflow
Compare blank-slate text prompts with reference-guided image synthesis, learn how delta prompting communicates changes, and organize reliable creative iteration loops.
 ImageGenerator Team
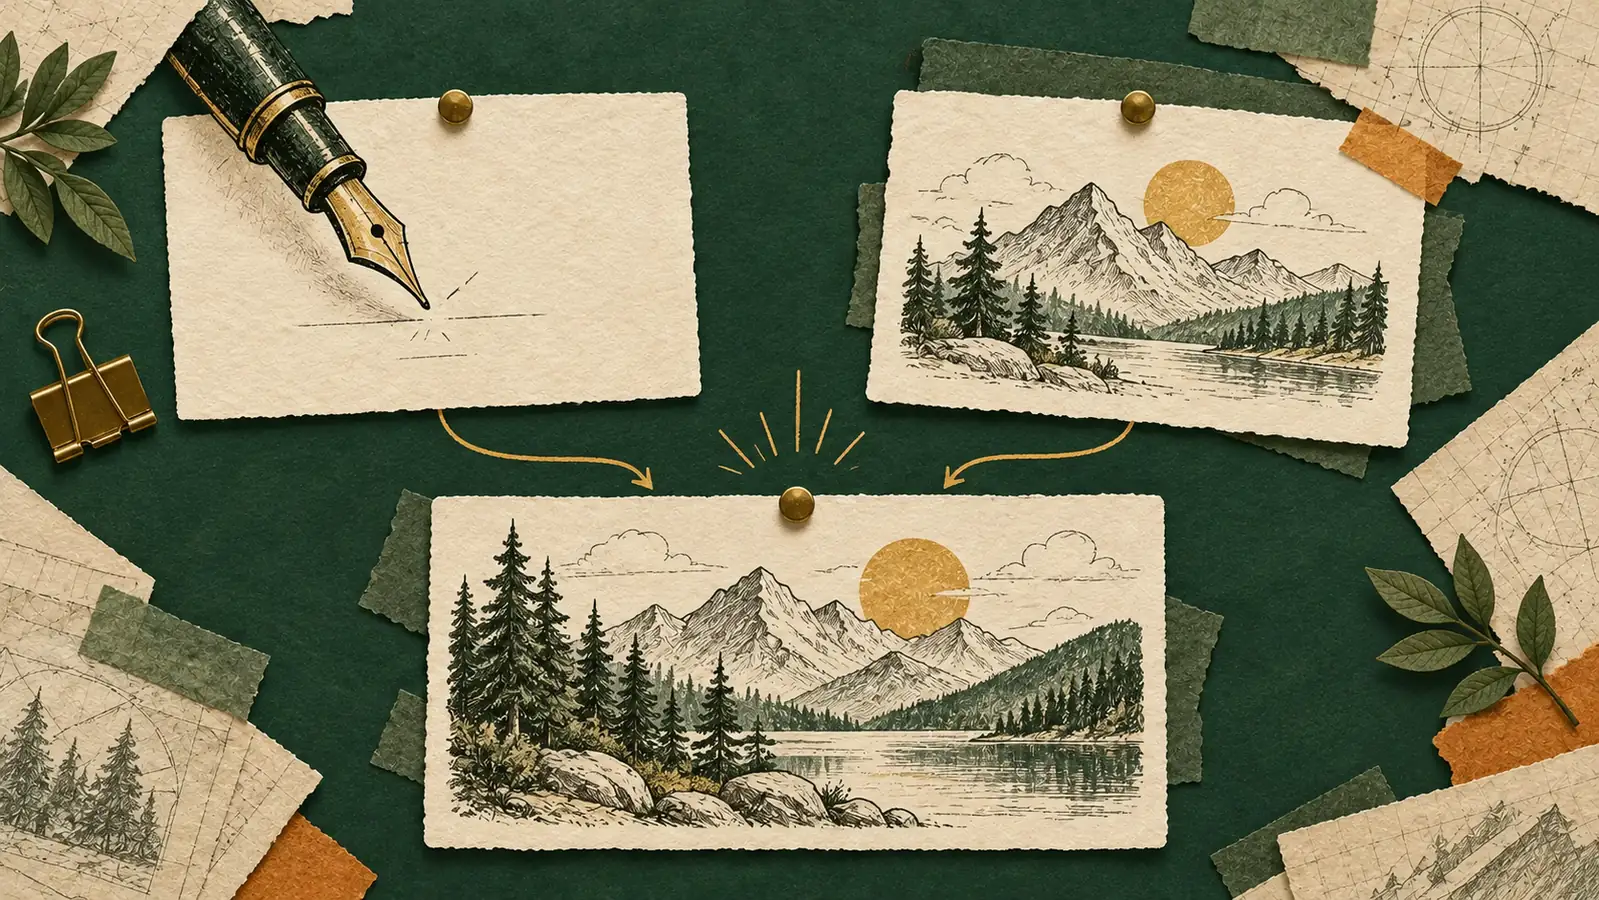
Modern generative visual tools provide creators with two foundational ways to begin a project: starting with a written prompt on a blank canvas, or uploading an existing picture to guide the next generation. On ImageGenerator.app, both workflows live side by side. They share the same prompt box, draw from the same credit balance, and connect to the same catalog of thirteen foundation image models. Yet despite sharing a clean interface, text-to-image and image-to-image serve distinct creative purposes.
Deciding between them determines how much creative freedom you give the model, how many credits you spend during initial drafts, and how closely the result matches your expectations. When you work from text alone, the model interprets your words and fills in every missing detail on its own. When you upload a reference picture, the model uses that image as a visual starting point to guide composition, subject shape, or color palette.
Reference pictures do not work like cut-and-paste layers in photo editing software. The model does not lock pixels in place or mask out parts of the image automatically. Instead, uploaded images provide visual context that guides how the model creates an entirely new picture. Knowing when to rely on words alone and when to introduce reference pictures helps you produce better visual assets while managing your credit balance efficiently.
This guide outlines practical differences between blank-slate prompts and reference-driven workflows, explains how to write prompts that focus on intended changes, demonstrates a four-step creative loop, and provides a structured checklist for reviewing generated images. For broader guidance on model selection and prompt formatting, consult our companion guides on Choosing an AI Image Model and How to Write Image Prompts.
The Blank Slate: When to Start from Words Alone
Text-to-image is generation from scratch. You type a description, select a model, choose an aspect ratio and resolution, and submit the run. The model reads the text and synthesizes an image without reference to any prior visual asset.
In the text-to-image workspace, this blank-slate approach provides maximum visual variety. It is the best choice when an image does not exist yet, when you want to explore several creative directions quickly, or when you want the model to propose unexpected visual compositions.
Practical Scenarios for Blank-Slate Generation
Starting with text alone is particularly effective for several common tasks:
- Initial Concept Brainstorming: When planning a campaign or building a mood board, text prompts let you test different color palettes, lighting schemes, and subject arrangements in minutes.
- Imaginary or Stylized Scenes: For fantasy settings, futuristic architecture, or abstract editorial concepts where no real-world photo exists, text prompts give models room to combine ideas freely.
- Comparing Model Aesthetics: Testing an identical prompt across multiple models shows you each model's default style, contrast tendencies, and texture rendering.
- Low-Cost Draft Iteration: Entering a simple sentence takes only a few seconds. Running early exploratory drafts on cost-effective models like Seedream 5.0 Flash (from 9 credits at 1K) or GPT Image 2 (from 16 credits at 1K) allows you to survey possibilities before committing credits to final resolutions.
The Challenge of Omitted Details
The primary challenge of working from text alone is that written language leaves out most visual details. An instruction like "a ceramic teapot on a rustic wooden table" specifies the subject and surface, but omits dozens of visual variables: the camera distance, lighting angle, handle shape, surface glaze, background environment, and shadow depth.
Whatever your prompt does not specify, the model invents based on patterns from its training data. This often leads to generic compositions or unexpected background elements. Packing dozens of descriptive clauses into a single prompt can also cause confusion, with colors or textures bleeding between adjacent objects. When your project requires an exact shape, consistent character appearance, or specific spatial arrangement, relying on words alone quickly becomes unpredictable. That is the point where adding reference images becomes valuable.
Reference Guidance: How Image-to-Image Uses Visual Inputs
Image-to-image generation begins with an uploaded picture alongside your written prompt. The model analyzes both inputs and renders a new image that reflects the guidance of the reference while incorporating instructions from your prompt.
On ImageGenerator.app, all thirteen catalog models support reference images. However, working effectively with references requires understanding what an uploaded image actually communicates to the model.
Guidance vs. Pixel Locking
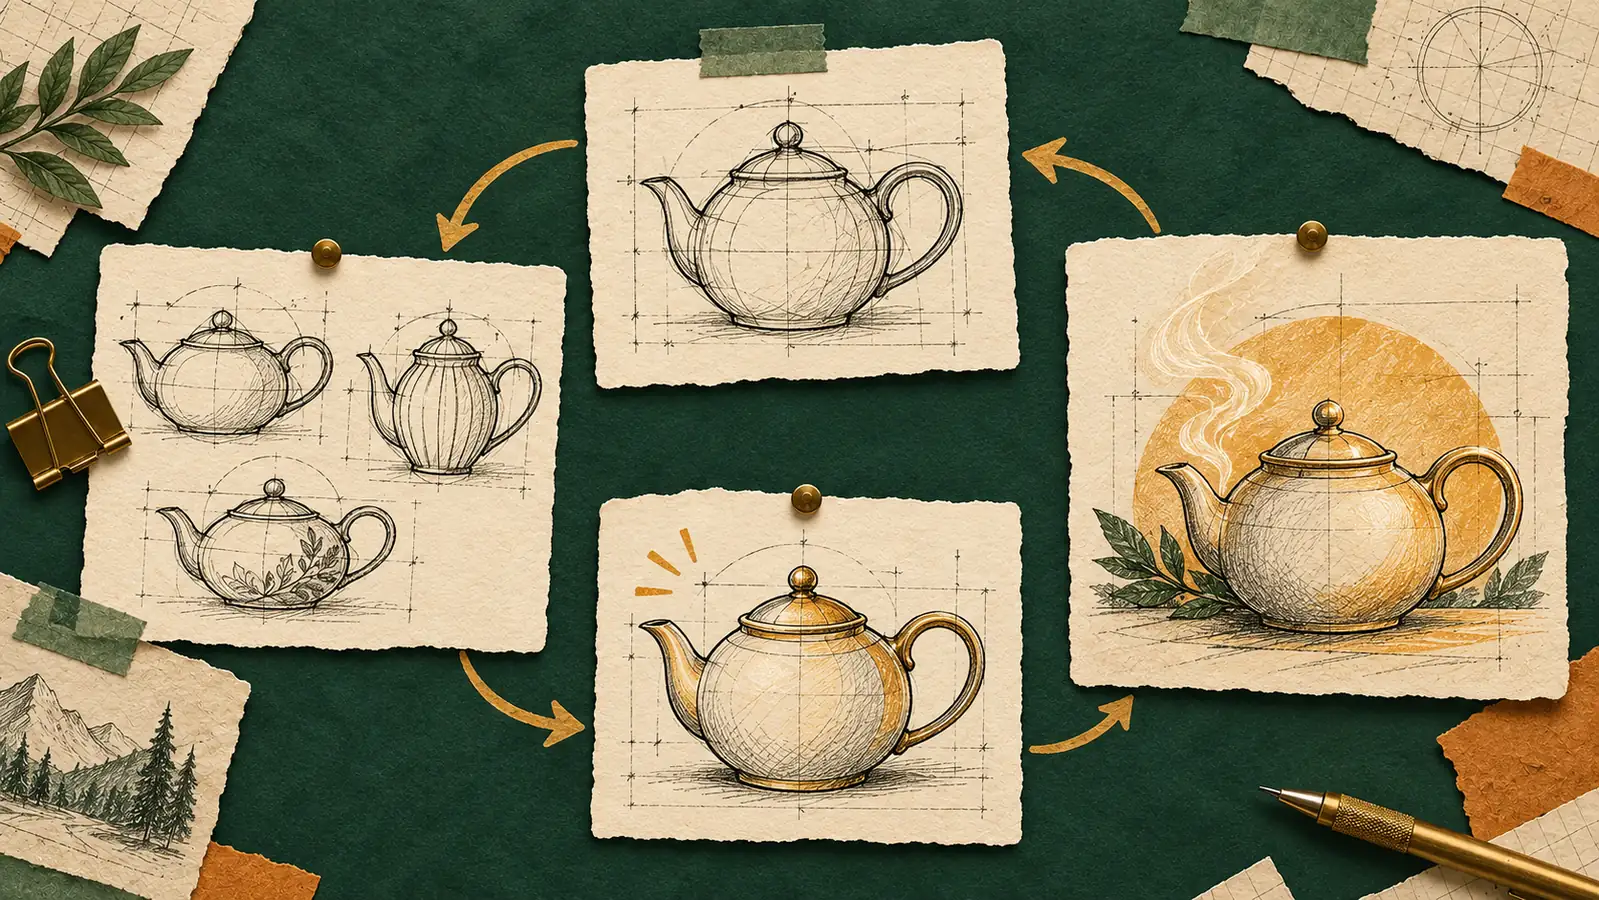
The most important distinction in reference-based generation is that references provide guidance, not mechanical pixel preservation:
- References guide visual structure: The model evaluates overall composition, subject silhouettes, color balances, and light distribution in your uploaded file. It uses these visual cues to shape the new image so that the result shares a noticeable family resemblance with the source.
- References do not freeze pixels: The model does not copy and paste sections of your reference picture into the output. It synthesizes a brand-new image from scratch. Fine details like facial wrinkles, specific fabric patterns, small text, or delicate highlights will naturally change from the original. You should always inspect the result carefully rather than assuming exact preservation.
What References Typically Stabilize
When used with clear prompts, reference images help anchor several key elements:
- Overall Composition: The placement of the subject, horizon line, and negative space transfers with reasonable consistency.
- Lighting Direction: A reference image with strong lighting from one side helps the model place highlights and shadows on that same side in the new render.
- Subject Posture and Proportions: Basic physical outlines, vehicle shapes, or product profiles can remain recognizable while you test different surface finishes or background settings.
- Color Schemes: Dominant color combinations from the reference often carry over into the new generation, helping maintain visual continuity across related assets.
Understanding Input Reference Limits
In our model catalog and interface, each model lists an input reference limit. This number specifies how many reference images you can upload into the prompt container for a single run. It does not mean the model generates multiple outputs at once. Every generation run on ImageGenerator.app produces exactly one finished image output.
The input reference limit varies by model family:
- 10 Input References: Seedream 5.0 Flash and Seedream 5.0 Pro.
- 14 Input References: Seedream 5.0 Lite, Seedream 4.5, Seedream 4.0, Nano Banana 2.1, Nano Banana 2 Lite, Nano Banana 2, Nano Banana Pro, and the original Nano Banana.
- 15 Input References: GPT Image 2.
- 16 Input References: GPT Image 2.5 Flare and GPT Image 2.5 Sunburst.
While higher limits allow uploading several visual references for complex tasks, uploading too many images can create conflicting visual cues. Starting with one or two clear references and testing the outcome is generally the most reliable way to maintain control.
Writing the Delta: The Keep, Change, and Check Method
The most common mistake creators make when moving to image-to-image is writing a long prompt that describes the entire scene again from scratch.
For example, suppose you upload a studio photograph of a white ceramic teapot on an oak counter and want to see it rendered in terracotta. If you write:
A professional product photograph of a round terracotta ceramic teapot with a looped handle and curved spout sitting on a light oak wooden counter in bright morning sunlight with soft shadows.
This prompt requests the new terracotta material, but it unnecessarily re-describes the handle, the spout, the wooden counter, and the morning sunlight. When you re-describe elements that already exist in the reference image, you introduce a risk: the model may focus on re-interpreting those redundant descriptive phrases instead of anchoring to the visual evidence in your uploaded asset. The handle shape may drift, the spout angle might shift, or the wood grain on the counter may alter unexpectedly. While this does not guarantee an immediate failure, it creates unnecessary variability.
The Three-Part Instruction Pattern
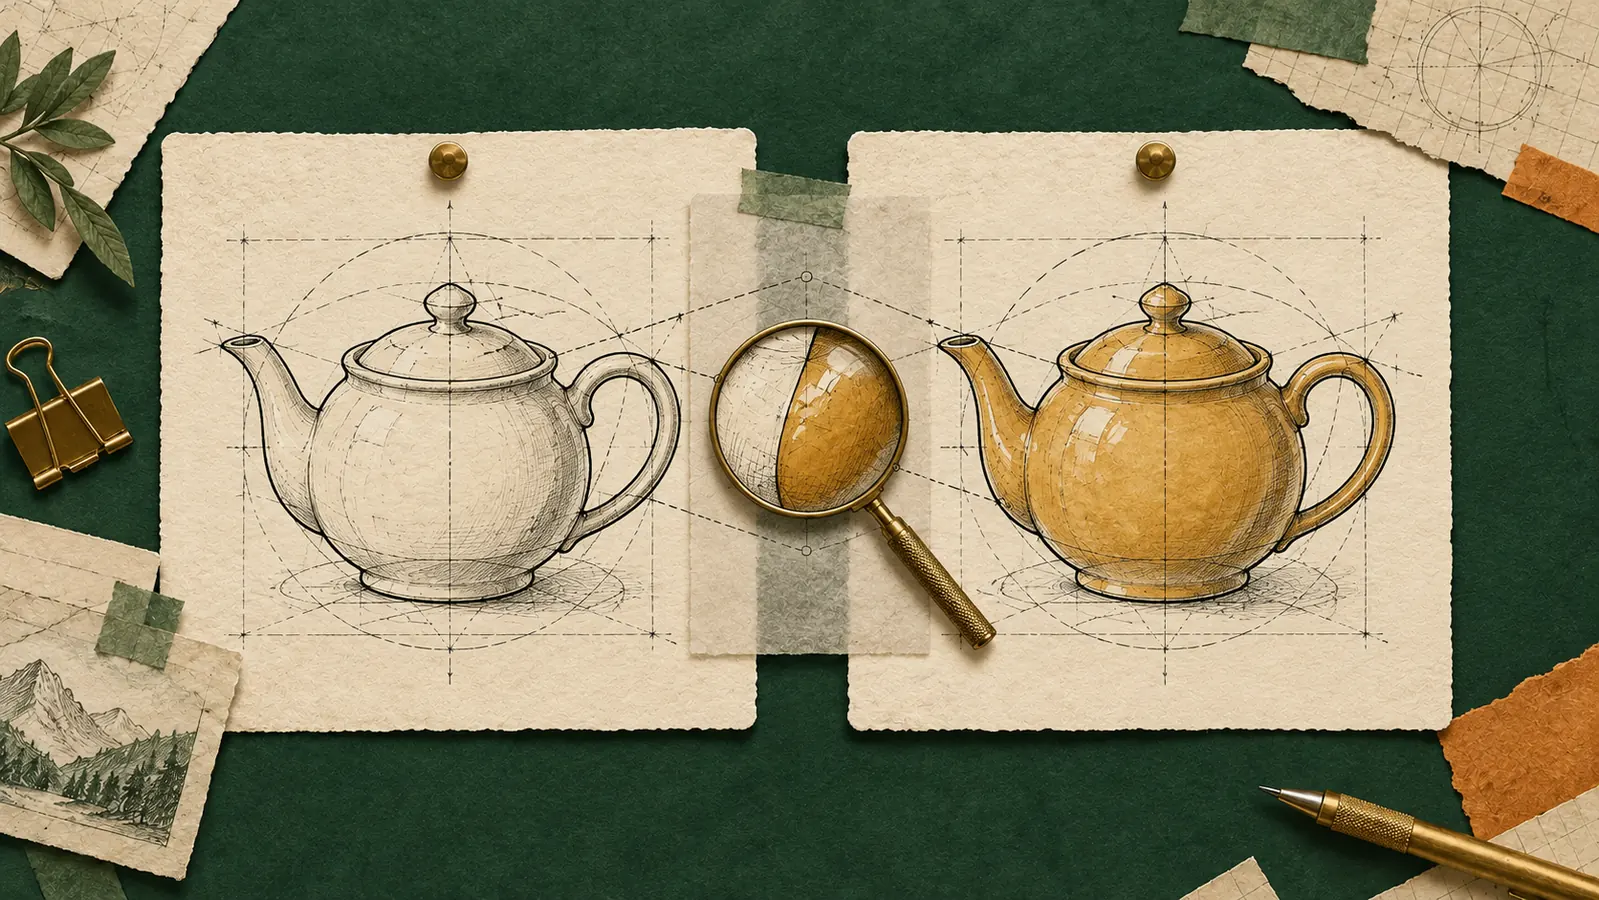
To guide the model cleanly, state what should change (the delta), what should stay the same (the invariants), and what you will verify in the output:
- The Change (Delta): Specify the exact color, material, lighting, or setting modification you want.
- The Preserved Elements (Keep): Name the specific shapes, poses, or objects that should remain recognizable.
- The Inspection Points (Check): Note the specific edges, shadows, or textures you will check once the image renders.
Practical Mini-Briefs and Prompts
Mini-Brief 1: Ceramic Teapot Colorway Restyling
- Input Asset: A clean studio shot of a white ceramic teapot on a wooden surface.
- Goal: Change the teapot material to unglazed terracotta while preserving the shape and surface.
- Keep: Overall silhouette, spout curvature, handle placement, wooden surface, and soft daylight.
- Change: Teapot body material from white ceramic to warm reddish-brown terracotta with a matte finish.
- Check: Ensure the handle joinery remains intact, the spout did not warp, and shadows on the wood match the new color.
- Prompt:
Change the material of the teapot from white ceramic to warm matte terracotta with a subtle clay texture. Keep the exact teapot silhouette, handle loop, spout curve, wooden table, and morning window lighting unchanged.
Mini-Brief 2: Character Setting Transition
- Input Asset: A portrait of a character in a green utility jacket generated in an earlier run.
- Goal: Place the same character into an evening street market scene.
- Keep: Facial features, hairstyle, expression, and jacket design.
- Change: Background from plain studio backdrop to a bustling night market with warm lantern light.
- Check: Confirm eye shape and hair silhouette resemble the source portrait, and check that evening lantern light reflects naturally on jacket shoulders.
- Prompt:
Place the character from the reference image into an evening outdoor market with warm paper lanterns and blurred stalls in the background. Keep the character's facial features, short brown hair, neutral expression, and green utility jacket unchanged. Adjust the lighting on the subject to match the warm evening ambient glow.
Mini-Brief 3: Product Staging Shift
- Input Asset: A studio photograph of matte black over-ear headphones on a plain grey stand.
- Goal: Show the same headphones resting naturally on a wooden desk beside an open notebook.
- Keep: Headphone headband curvature, ear cup shape, matte black texture, and brand-neutral design.
- Change: Setting from studio stand to an angled desk surface with a notebook and ceramic mug nearby.
- Check: Check that the ear cushions remain symmetrical, the headband does not bend unnaturally, and the desk surface has natural contact shadows.
- Prompt:
Restyle the setting so the headphones from the reference rest flat on a light walnut desk next to an open paper notebook and a white ceramic coffee mug. Keep the exact headphone shape, matte black finish, and ear cup proportions unchanged. Render natural daylight coming from an off-screen window.
The Creative Production Loop: Draft, Choose, Refine, and Review
Professional visual generation rarely succeeds on a single attempt. Experienced creators treat image generation as an organized cycle that shifts between text prompts and reference adjustments.
Step 1: Draft in Text-to-Image
Start in the text-to-image workspace. Your initial goal is discovering an appealing composition, camera angle, and subject silhouette rather than producing a finished hero asset immediately.
To keep credit spending manageable, start with lower-cost models. For example, testing several variations on Seedream 5.0 Flash costs 9 credits at 1K resolution. If your layout requires strict geometric framing or clean typographic areas, GPT Image 2 offers a reliable starting point from 16 credits at 1K resolution. Generate four to six candidate drafts to explore different interpretations of your concept.
Step 2: Choose the Strongest Structural Candidate
Review your initial drafts and select one candidate based on its underlying structure:
- Does the subject have a balanced silhouette that fits the frame well?
- Are the perspective lines and vanishing points natural without odd optical warps?
- Is the main light source positioned in a way that separates the subject clearly from the background?
Pick the candidate that has the best composition, even if small surface details or colors are not yet ideal. Download the image or copy its prompt so you can transition it into the next phase.
Step 3: Refine with Reference Guidance
Upload your selected candidate as an input reference. Switch your prompt from broad description to targeted delta instructions using the keep-and-change format.
If your project requires finer micro-textures or clearer lettering, this is an appropriate point to evaluate models suited for detailed rendering. For example, Nano Banana Pro (39 credits at 1K) is a strong candidate when you need intricate surface engraving or legible text. If your project involves expressive character staging or rich painterly palettes, Seedream 5.0 Pro (18 credits at 1K, 35 credits at 2K) provides rich visual handling. Enter your prompt with clear preservation instructions and generate.
Step 4: Review and Manage Iteration Drift
Evaluate the new render against your checklist. If minor refinements are needed, you can use the new image as a reference for another pass.
However, be cautious about generational drift. If you take an AI-generated image, feed it back as a reference, take that result, and feed it in again over four or five consecutive cycles, synthetic artifacts can accumulate. Edges may become unnaturally sharp, colors can oversaturate, and textures can take on a plastic sheen. To avoid this degradation:
- Limit chained reference runs to two or three passes on a single asset branch.
- If a generation strays too far from the desired shape, return to your original Step 2 image as the reference rather than continuing from a degraded output.
- Keep your list of preserved elements consistent across prompt revisions.
Multi-Reference Projects: Assigning Roles and Avoiding Collisions
Depending on the model you select, ImageGenerator.app allows uploading up to 10, 14, 15, or 16 reference images in a single run. While this capacity is useful for complex creative tasks, uploading multiple pictures without clear instructions often leads to confusing results.
When an AI model receives several unlabelled images, it tries to blend all visual characteristics at once. Faces can distort, architectural styles may clash, and competing color palettes can produce muddy lighting. To prevent these issues, assign a distinct functional role to each reference image in your prompt text.
Four Common Reference Roles
When assembling an input reference set, consider giving each image a specific job:
- Subject Reference: Shows the physical appearance, dimensions, or design of the primary object or character.
- Style Reference: Shows the desired artistic medium, brushwork, film grain, or rendering treatment.
- Setting Reference: Shows the environment, background architecture, or landscape.
- Lighting Reference: Shows the desired shadow depth, highlight placement, and color temperature.
Example Multi-Reference Prompt
State clearly which reference picture controls which aspect of the output:
Create an editorial product photograph combining the uploaded reference images according to these specific roles:
- Subject: Use Reference Image 1 exclusively for the shape, dials, and proportions of the portable radio.
- Finish: Use Reference Image 2 as the guide for the brushed aluminum surface and dark wood side panels.
- Setting: Place the radio on a concrete desk inspired by the architectural workspace in Reference Image 3.
- Lighting: Apply the soft directional morning sunlight shown in Reference Image 4.
Ensure the final image has realistic contact shadows where the radio meets the desk. Keep the radio dimensions from Reference Image 1 intact.
Resolving Conflicting Reference Guidance
When two reference images suggest conflicting aesthetics—such as a sleek modern product paired with a rough, textured watercolor background—decide in advance which element takes priority. State in your prompt that the product outline must remain clean and photographic, while the watercolor texture applies only to the background. As a practical heuristic, starting with one or two carefully chosen references makes it easier to evaluate what each image contributes before adding more.
Technical Comparison: Text-to-Image vs. Image-to-Image
The table below summarizes the operational differences between blank-slate text prompts and reference-guided workflows.
| Workflow Dimension | Text-to-Image (Blank Slate) | Image-to-Image (Reference-Guided) |
|---|---|---|
| Starting Input | Text prompt alone. | Text prompt plus reference images (up to 10, 14, 15, or 16 depending on the model). |
| Primary Purpose | Broad concept discovery, ideation, and rapid drafting. | Subject consistency, material restyling, and targeted scene adjustments. |
| Model Interpretation | High freedom. The model invents all unspecified details. | Guided. The model aligns composition and color with reference inputs. |
| Prompting Approach | Descriptive layering (subject, medium, lighting, framing). | Delta prompting (what to change, what to keep, what to inspect). |
| Input Reference Limit | 0 reference images. | Model-dependent: 10, 14, 15, or 16 input reference images. |
| Output Quantity | One image per generation run. | One image per generation run. |
| Key Creative Risk | Omitted details lead to generic or unpredictable scenes. | Prompt conflicts with reference, or multi-generation drift occurs. |
| Recommended Pipeline Role | Early exploration and initial candidate selection. | Refining selected candidates into finished campaign assets. |
| Credit Cost Structure | Based on selected model and resolution (from 9 credits at 1K). | Same per-run rate as text mode; overall project cost reflects iterative refinement. |
Model Selection in Practical Workflows: Live Catalog Rates
On ImageGenerator.app, all models draw from a single shared credit balance. Credit costs depend strictly on the model you select and the resolution you choose for that run. Failed generation runs resulting from server or network errors are not charged to your account.
Below are current baseline credit rates from our active catalog. Check the credit indicator beside the Generate button in the workspace before submitting, as selected resolution options determine the final charge for each run.
Economical Drafting Models
When exploring broad concepts or testing preliminary reference compositions, these models provide quick results with minimal credit expenditure:
- Seedream 5.0 Flash: Costs 9 credits at 1K, 9 credits at 1.5K, and 9 credits at 2K resolution, with support for up to 10 input references. An excellent choice for rapid candidate generation.
- Nano Banana 2.1: Priced at 10 credits at 1K, 15 credits at 2K, and 33 credits at 4K, accepting up to 14 input references. Well suited for clean graphic illustrations and modern layouts.
- Nano Banana 2 Lite & Nano Banana: Both cost 12 credits at 1K, supporting up to 14 input references. Dependable models for standard everyday generation tasks.
- Seedream 4.0: Flat rate of 12 credits across 1K, 2K, and 4K resolutions, with up to 14 input references. A practical option when you need larger dimensions on an exploratory budget.
Balanced Production Models
When refining approved compositions and testing specific material adjustments:
- GPT Image 2: Priced at 16 credits at 1K, 31 credits at 2K, and 52 credits at 4K, accepting up to 15 input references. Recognized for disciplined instruction following and structured compositions.
- GPT Image 2.5 Flare: Priced at 16 credits at 1K, 31 credits at 2K, and 52 credits at 4K, supporting up to 16 input references. A versatile option for day-to-day iterative image-to-image adjustments.
- GPT Image 2.5 Sunburst: Shares the same price of 16 credits at 1K, 31 credits at 2K, and 52 credits at 4K, accepting up to 16 input references. Useful for rendering detailed surfaces and multi-turn edits.
- Seedream 5.0 Pro: Available at 18 credits at 1K, 18 credits at 1.5K, and 35 credits at 2K, supporting up to 10 input references. Known for rich color harmony, expressive character portraits, and painterly treatments.
Detail and Typography Options
When your project demands intricate scene elements, crowded compositions, or readable signage:
- Nano Banana 2: Priced at 20 credits at 0.5K, 20 credits at 1K, 29 credits at 2K, and 44 credits at 4K, accepting up to 14 input references. A balanced engine for stylized product images and aesthetic exploration.
- Nano Banana Pro: Priced at 39 credits at 1K, 39 credits at 2K, and 69 credits at 4K, supporting up to 14 input references. A strong candidate to evaluate when you need fine engravings, detailed crowds, or readable on-image lettering.
For comprehensive credit package options and account management, visit our Pricing Page.
Output Quality Review: A Five-Point Inspection Protocol
Before approving a generated asset or moving it into production, examine the image systematically using this five-point protocol:
- Silhouette and Proportion Check: Compare the generated subject with your reference asset. Verify that product edges, arm or leg angles, and circular contours have not warped or distorted unnaturally.
- Contact Shadows: Look closely at where the subject meets the ground, table, or supporting surface. Confirm that contact shadows anchor the object realistically rather than making it appear to hover.
- Consistent Light Direction: Check reflections on glass, metal, skin, or polished tabletops. Verify that highlights and cast shadows correspond to a consistent light source across the entire scene.
- Edge and Boundary Inspection: Zoom in to actual delivery size along high-contrast edges (such as dark clothing against a bright wall). Look for awkward blurry halos, color fringing, or smudged boundaries.
- Text and Fine Markings: If your image includes signs, brand names, or labels, inspect each letter carefully. Make sure words are spelt correctly and character strokes remain crisp.
If an image fails on basic geometry or lighting consistency, do not try to fix it through repeated minor image-to-image tweaks. Revisit your prompt, clarify what should remain preserved, and consider testing an alternative model candidate from your starting reference.
Tracking Experiments: A Simple Local Version Log
Because creative generation involves testing multiple models, prompt tweaks, and reference files, keeping track of your runs saves credits and avoids repeating mistakes. A simple text file or spreadsheet log with five columns provides a reliable record:
The sample entries below illustrate hypothetical briefing notes to show how a creator might track model choices, reference filenames, and observed results; they do not represent actual benchmark test results.
| Run | Model Selected | Resolution | Reference Asset Filename | Hypothetical Observation & Next Action |
|---|---|---|---|---|
| #01 | Seedream 5.0 Flash | 1K | None (Text only) | Promising teapot silhouette, but table wood looks artificial. Keep prompt wording. |
| #02 | Seedream 5.0 Flash | 1K | None (Text only) | Better table texture. Selected as reference candidate for image-to-image. |
| #03 | GPT Image 2 | 1K | teapot-v1.webp | Restyled teapot to terracotta; spout shape remained recognizable. |
| #04 | Nano Banana Pro | 2K | teapot-v2.webp | Final hero render; crisp clay texture and clean contact shadow. |
Recording what worked and what failed helps you build an institutional library of working prompts and reference combinations for future projects.
Responsible Use and Platform Guidelines
Operating an image generation pipeline requires observing ethical and legal best practices:
Independent Third-Party Playground
ImageGenerator.app is an independent web application. The platform is not an official release, subsidiary, or joint venture of Google DeepMind, ByteDance, OpenAI, or any other foundation model lab. Foundation models accessible on the site are researched, developed, and owned by their respective creators. ImageGenerator.app provides browser-based access, unified session management, and a single credit system. For more details on model lineage, read our overview of Browser Access to Foundation Models.
Reference Rights and Ethical Boundaries
When uploading reference assets to image-to-image workflows, observe standard creative standards:
- Clear Rights: Ensure you own the copyright, hold an appropriate license, or have permission to use any reference image you upload.
- Consent and Privacy: Do not upload photos of private individuals without their permission to generate deepfakes, unauthorized likenesses, or misleading depictions.
- Brand Trademarks: Avoid generating deceptive counterfeit branding or infringing on registered trademarks.
- Commercial Verification: Always review applicable platform policies and provider terms before deploying generated images in commercial client campaigns. Consult our Terms of Service for general platform rules.
Generation Billing Policy
On ImageGenerator.app, failed generations are not charged. If your browser or internet connection disconnects while an image is rendering, that disconnect alone does not establish that the server task failed. Always check your recent creations history in the workspace before resubmitting a prompt to avoid redundant runs.
Frequently Asked Questions (FAQ)
Can image-to-image guarantee that my character's face will stay identical across different scenes?
No generative image workflow can guarantee exact facial preservation across generations. Reference images guide the overall likeness, but instructions communicate a creative request rather than a technical lock. You can encourage character continuity by uploading clear reference portraits, choosing a model positioned for character consistency such as Nano Banana Pro or Seedream 5.0 Pro, and using delta prompts that explicitly state which facial features, hair textures, and clothing items should remain unchanged. Inspect each output carefully, as multi-turn generation naturally introduces subtle visual drift.
Why did the background change when I only asked to change the subject's shirt color?
When you instruct the model to change one element without mentioning the surrounding scene, the model may re-interpret the entire picture. To prevent this, include an explicit preservation clause in your prompt: "Change the subject's shirt from cotton to blue silk. Keep the room background, wall art, window framing, and daylight unchanged."
Does uploading the maximum number of reference images produce better results?
Not necessarily. While some models support up to 16 input reference images, providing too many pictures often introduces conflicting visual guidance. The model may struggle to reconcile multiple color palettes, camera angles, and art styles. Starting with one or two clear references almost always yields cleaner, more predictable output.
Is image-to-image more expensive in credits than text-to-image?
No. On ImageGenerator.app, credit charges depend entirely on the model and resolution you choose. A 1K image on Seedream 5.0 Flash costs exactly 9 credits whether you generate it from text alone or with several uploaded reference pictures. However, reference workflows often involve multiple iterative refinement steps, which can increase overall project spending.
Can I upload one reference and generate multiple variations at the same time?
No. Each generation run on ImageGenerator.app produces one finished image output. The input reference limit (10 to 16 images) indicates how many pictures you can upload to guide that single generation run.
Why do some models lack a 1K resolution option?
Available resolutions vary across models based on catalog specifications. Some models, such as Seedream 4.0, offer 1K, 2K, and 4K options, while others begin at 2K. Check the resolution dropdown in the generator to view supported dimensions for your selected model.
What should I do if a generation seems stuck or my internet disconnects?
If your browser loses connection while an image is rendering, the backend task may still complete successfully. Check your recent creations in the workspace before clicking Generate again. If the task truly failed on the server, no credits are deducted from your balance.
Conclusion: Organizing Your Creative Workflow
Mastering generative AI tools in 2026 comes down to choosing the right approach for each stage of your project:
Use text-to-image when exploring new concepts from a blank slate. Deploy affordable drafting options like Seedream 5.0 Flash (9 credits at 1K) or GPT Image 2 (16 credits at 1K) to generate broad pools of candidates quickly.
Switch to image-to-image when you have a promising candidate that needs targeted refinement. Use delta prompting to clearly separate what changes from what stays the same. Assign clear roles if using multiple references, check results against an inspection protocol, and evaluate heavier models like Nano Banana Pro or Seedream 5.0 Pro when fine text or complex surfaces require extra attention.
To test both workflows across all thirteen catalog models, visit the text-to-image workspace, browse model specifications in our Models Directory, review credit packages on our Pricing Page, and read our review of the Best Multi-Model AI Image Generator in 2026.